dir="ltr" style="text-align: left;">
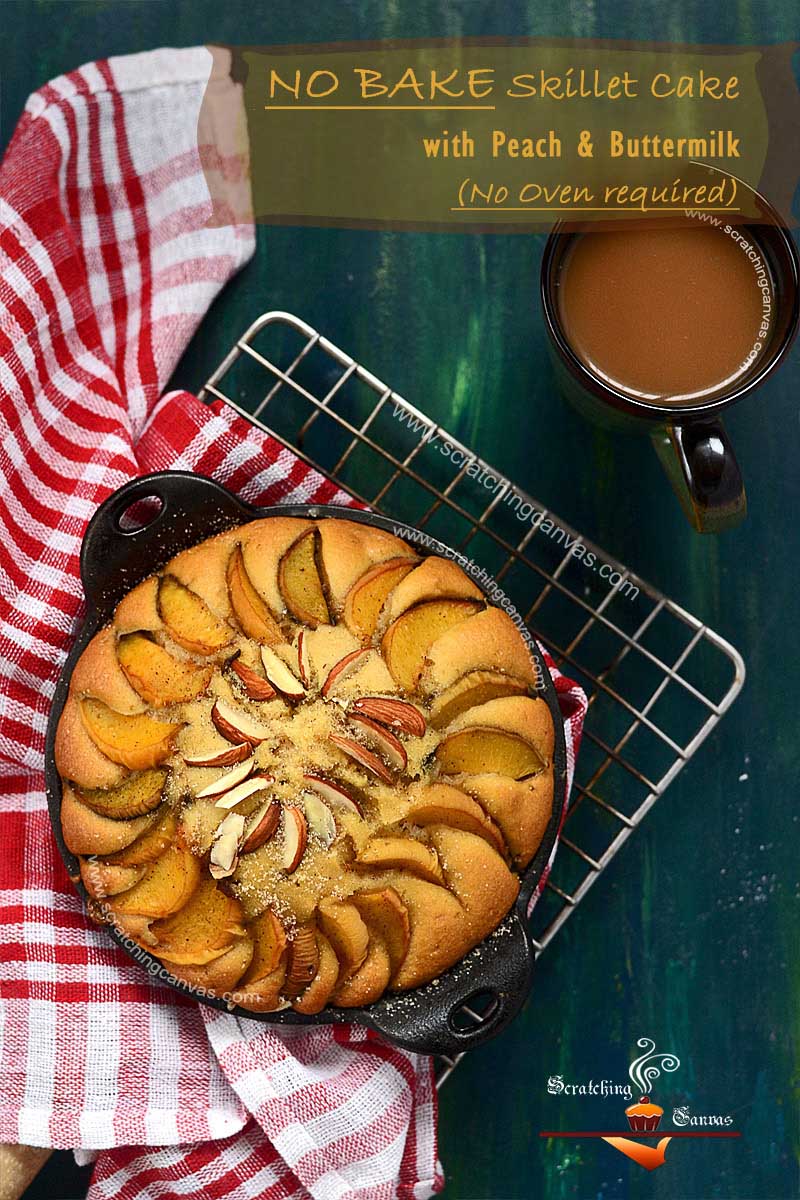
Happy New Year folks! I’m back (after another short nap) with a magical recipe, No Bake Skillet Cake with Peach & Buttermilk without any Oven. Yes, you are reading it right it’s a cake without any oven. You must be thinking by now I’ll be suggesting you to use a pressure cooker for a steamed cake or sand. But no my dear friends, I won’t suggest you anything painful or stressful. I always try to present a clean recipe and this time won’t be an exception! I’m talking about cooking the cake on gas top/stove top instead of baking it in oven. Interesting enough? Hope in.
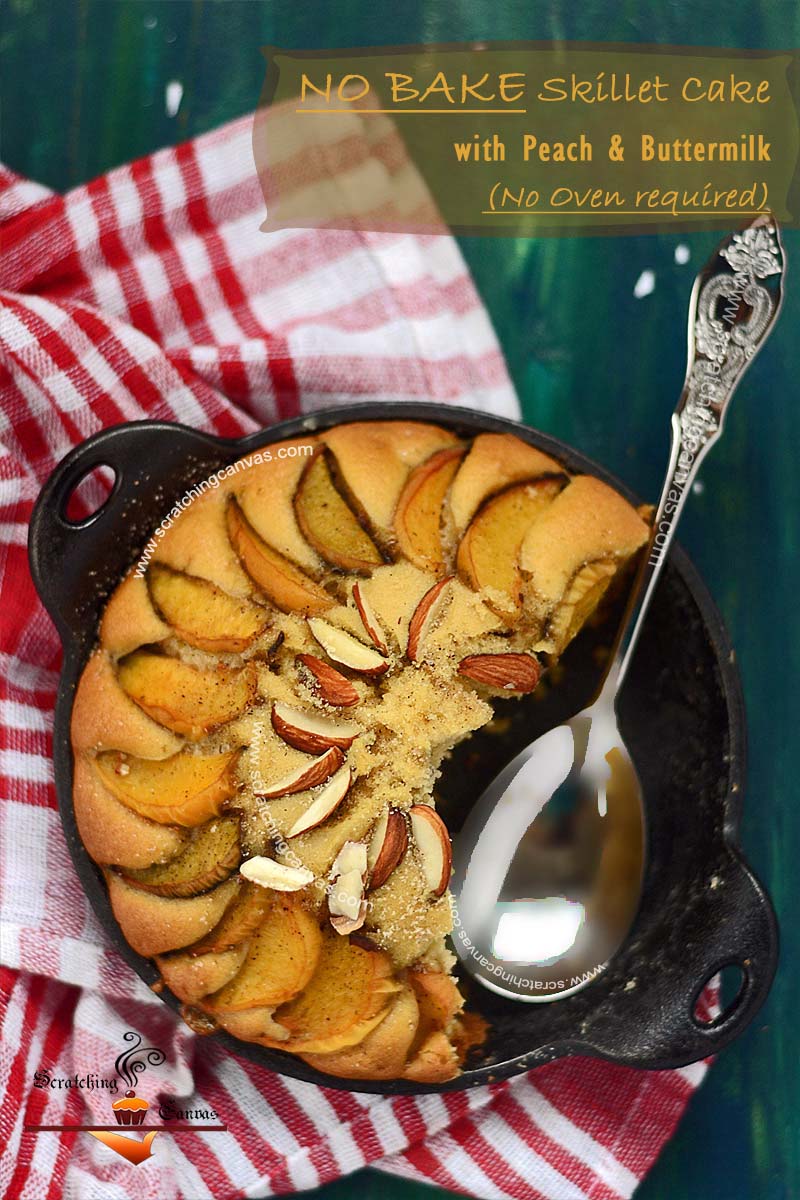
This particular No Bake Skillet Cake is a basic sponge cake with fresh peach and buttermilk (without any Oven) which is cooked on gas top instead of baking in oven. It’s fruity nutty and spicy cake to add spice in your life. I know it’s quite odd to use a summer fruit like peach in winter but I had couple of them in my pantry which was near to expiry date, eventually they had to go. I also had tried the very same recipe with apple and cinnamon-nutmeg spice mix and it came out nicely. Any other firm fleshed fruits like plum or kiwi can be used instead of peach I guess. Buttermilk is one of my personal favourite ingredients when it comes to a cake. It not only adds the tanginess but also helps the cake to achieve the super moist tender texture.
Now you know what’s coming today, right? Then let’s get back to the last year’s journal first. (It’s less a chit-chat and more like a confession for disappearing from your lives.) Last couple of months I was living a zombie life; up almost all night long and then sleeping like a pig all day long. And my out of the sync life got me insomnia; resulting bit of late night chatting and loads of drooling over other food blogger’s life. I was mostly living on take away and quick bites but that doesn’t mean I wasn’t cooking at all. I was trying my hands here and there, some retuned success others died without much drama. Today’s No Bake Cake is one of those flashy proud moments.
In all these past years I’ve received many requests from friends, family even from fellow readers to share a recipe to bake a cake without any oven. In India not many people have the luxury to use conventional oven (including myself); many people buy microwave oven without knowing the fact about convection mode. Later when they find out, it’s either too late to consult or too early to buy another new one. Later one part of them buys OTG another part looks for baking recipes in microwave or gas top. On the other hand I had my personal agenda too to try my hands on cooking a cake on stove top. We are always shortage of power in my part of the town; resulting major damage in daily life. And being a sucker for baking goods I simply refuse to stop for the sake of power cut. As long life is going on, so do baking. Hence the gastop/stovetop Skillet Cake has relived in my kitchen, so it will in yours.
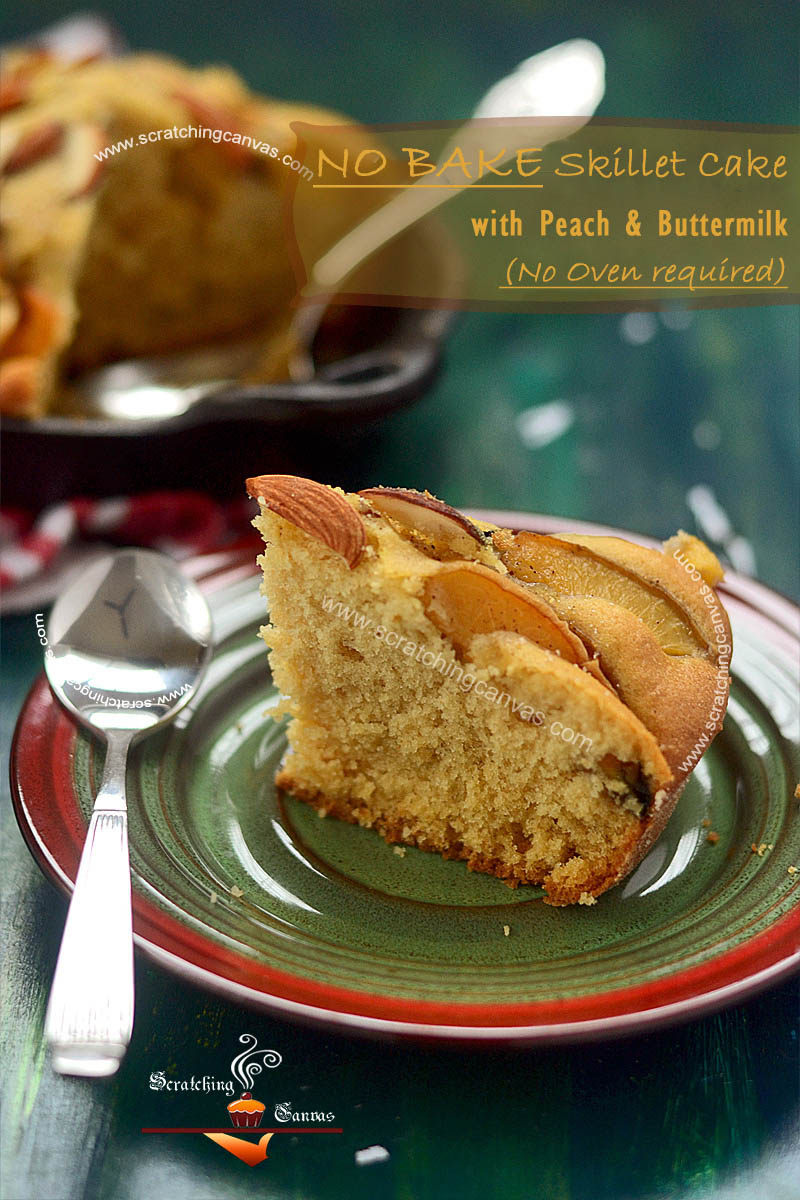
It may sound weird to you but almost nothing required to cook a cake on stovetop, literally. All you need are any silicone or metal baking pan or bowls (even from your daily life will work fine), a large heavy bottomed pan with tightly fitted lid, a metal or wire stand and of course a gas top; that’s it! The method works same as baking in oven. You need to preheat the pan before and then cook in it. Here the larger pan with lid will work as your oven and gas/stove will be the heat source. To preheat the pan, you need to keep the stand inside the large pan and cover with lid. If you don’t have the cover, don’t get cranky; simply use a metal foil as lid. Now heat the pan on medium flame for 3-5 mins or until you can feel the heat from top of the pan. Next is simmer the flame and set batter filled cake pan on the stand inside the large pan; cover again and cook for 20 mins (for 6” cake) or so. Cake will be rising by the time; then increase the flame to medium or medium high and continue cooking for another 10-15 mins or until you see cake has risen and browned (watch the video for visual demonstration).
Voila! Your No Bake Cake will be done within another 5-7 mins or so. See? It’s no rocket science at all, told you. A simple cakebaked (oops) cooked on stove top without any conventional oven and most importantly without any mess.
Voila! Your No Bake Cake will be done within another 5-7 mins or so. See? It’s no rocket science at all, told you. A simple cake
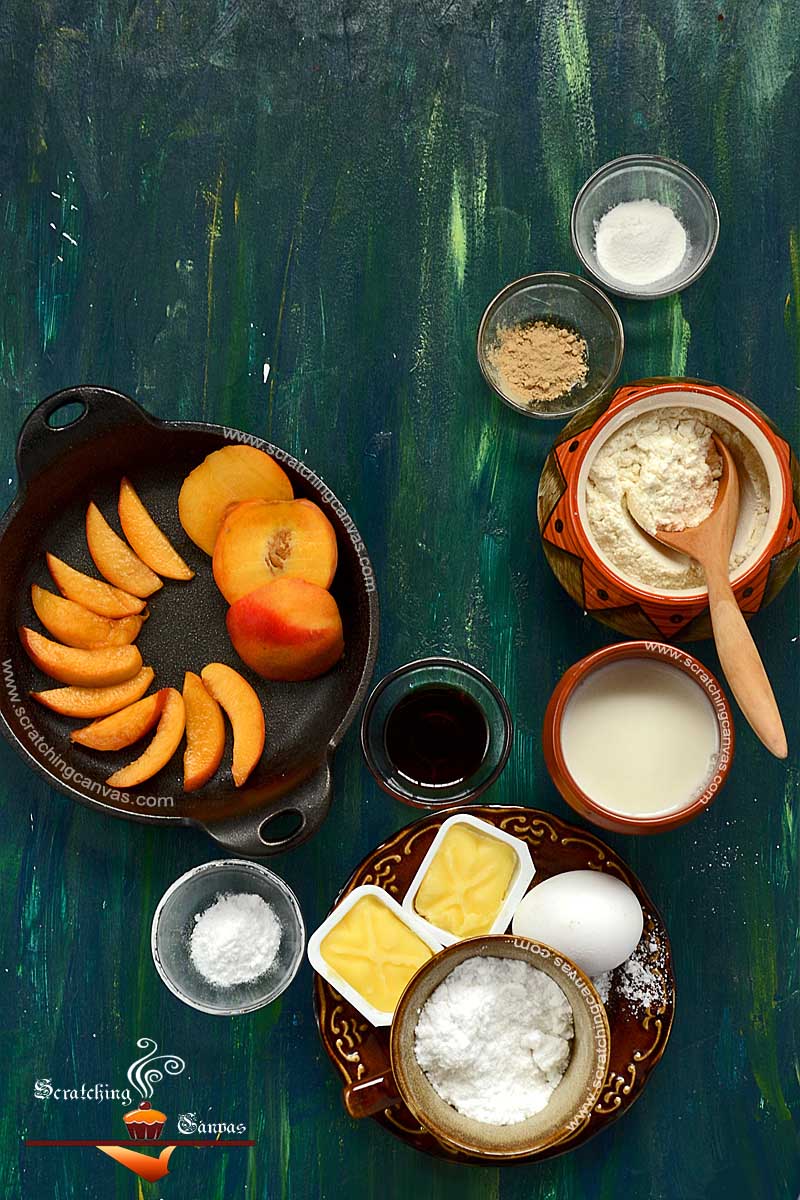
Here is my video recipe of No Bake Skillet Cake with Peach and Buttermilk for you all. And yes of course you won’t require any baking oven as we will cook the cake on gas top instead of baking in oven.
Preparation Time: 10 mins
Cooking/Active Time: 40 mins
Resting/Inactive time: 10 mins
Total Time: 60 mins
Yield: 2 servings (one 6” round cake)
Ingredients:
Read the entire recipe and tips carefully before you start cooking.
Do make sure all ingredients are at room temperature (unless mentioned) and weighted or measured correctly in appropriate weighing machine or measuring instruments such as cups or spoons. Remember these are not our regular cups or spoons which we use in our daily life.
For Peach Buttermilk Sponge cake:
(The measuring are mentioned here will yield one 6” round cake)
All-purpose flour: 1 cup + 1 tbsp (for dusting)
Baking powder: 1/2 tsp
Baking Soda: 1/4 tsp
Sugar, powdered: 1/3 cup to 1/2 cup (See Tips)
Margarine or Butter: 2 tbsp + 1 tsp (for greasing) (See Tips)
Egg: 1, large at room temperature
Vanilla extract: 1 tsp (optional)
Almond, chopped: 2 tbsp
Buttermilk: 1/2 cup
Fully Ripe peach: 1, cut into thin wedges
Almond slivers: 2 tbsp
Spice Mix powder:
1/2 tsp nutmeg
1/2 tsp ginger
1/2 tsp cinnamon
1/2 tsp cardamom
Spice Mix powder:
1/2 tsp nutmeg
1/2 tsp ginger
1/2 tsp cinnamon
1/2 tsp cardamom
Garnishing:
Icing Sugar or Vanilla sugar for dusting on top
Equipments:
Sieve
Whisk
Spatulas
Large mixing bowls
Small mixing bowls
6” Baking pan
Preparation:
Watch my quick step by step video recipe of No Bake Skillet Cake with Peach and Butter milk without any Oven.
Before starting the prep work, one should keep one thing in mind that though this is a single serving cake it will take time to cook on gas top. The very same cake can also be baked in oven like a regular cake. I’ve tried it both ways and I couldn’t find any significant difference. So one has to be patient and organized; otherwise entire hard work will end up in a big fat mess.
Let’s begin with greasing and dusting the baking pan.
Grease the pan with softened butter and dust the same with reserved flour. Tap off the excess flour. (See Tips)
Always start with mixing &sifting dry ingredients. In a mixing bowl sieve and sift flour (reserve 1 tbsp) & baking powder, baking soda and spice mix together. Repeat the process one more time. Keep aside until needed. (See Tips)
Cream butter (reserve 1 tsp) and sugar together with a hand help whisk until become fluffy and pale in color. It will hardly take 2-3 mins. (See Tips)
If granulated sugar is used, mixture will take almost 5-7 mins to blend nicely. It’s always better to take 5 mins out and powder your sugar before you start baking, lesson learned in a hard way! (See Tips)
Add egg and continue whisking. Take care not to overbeat.
Add vanilla extract and mix very gently without disturbing the aeration.
Add the flour mixture into the batter and gently fold with a rubber spatula or whisk until there is no visibility of flour. Make sure there are no lumps at all. (See Tips)
Sprinkle chopped almonds and fold in the batter lightly.
Fill the 3/4thof a 6” round baking pan with the batter or distribute cake batter equally into two or three muffin moulds. Level the top with the spatula for even rising. And tap the pan few times on the kitchen counter to get rid of air bubbles, if exists any. Poke in the middle of the batter with a spatula slightly it will prevent cracking in the middle of the cake. (See Tips)
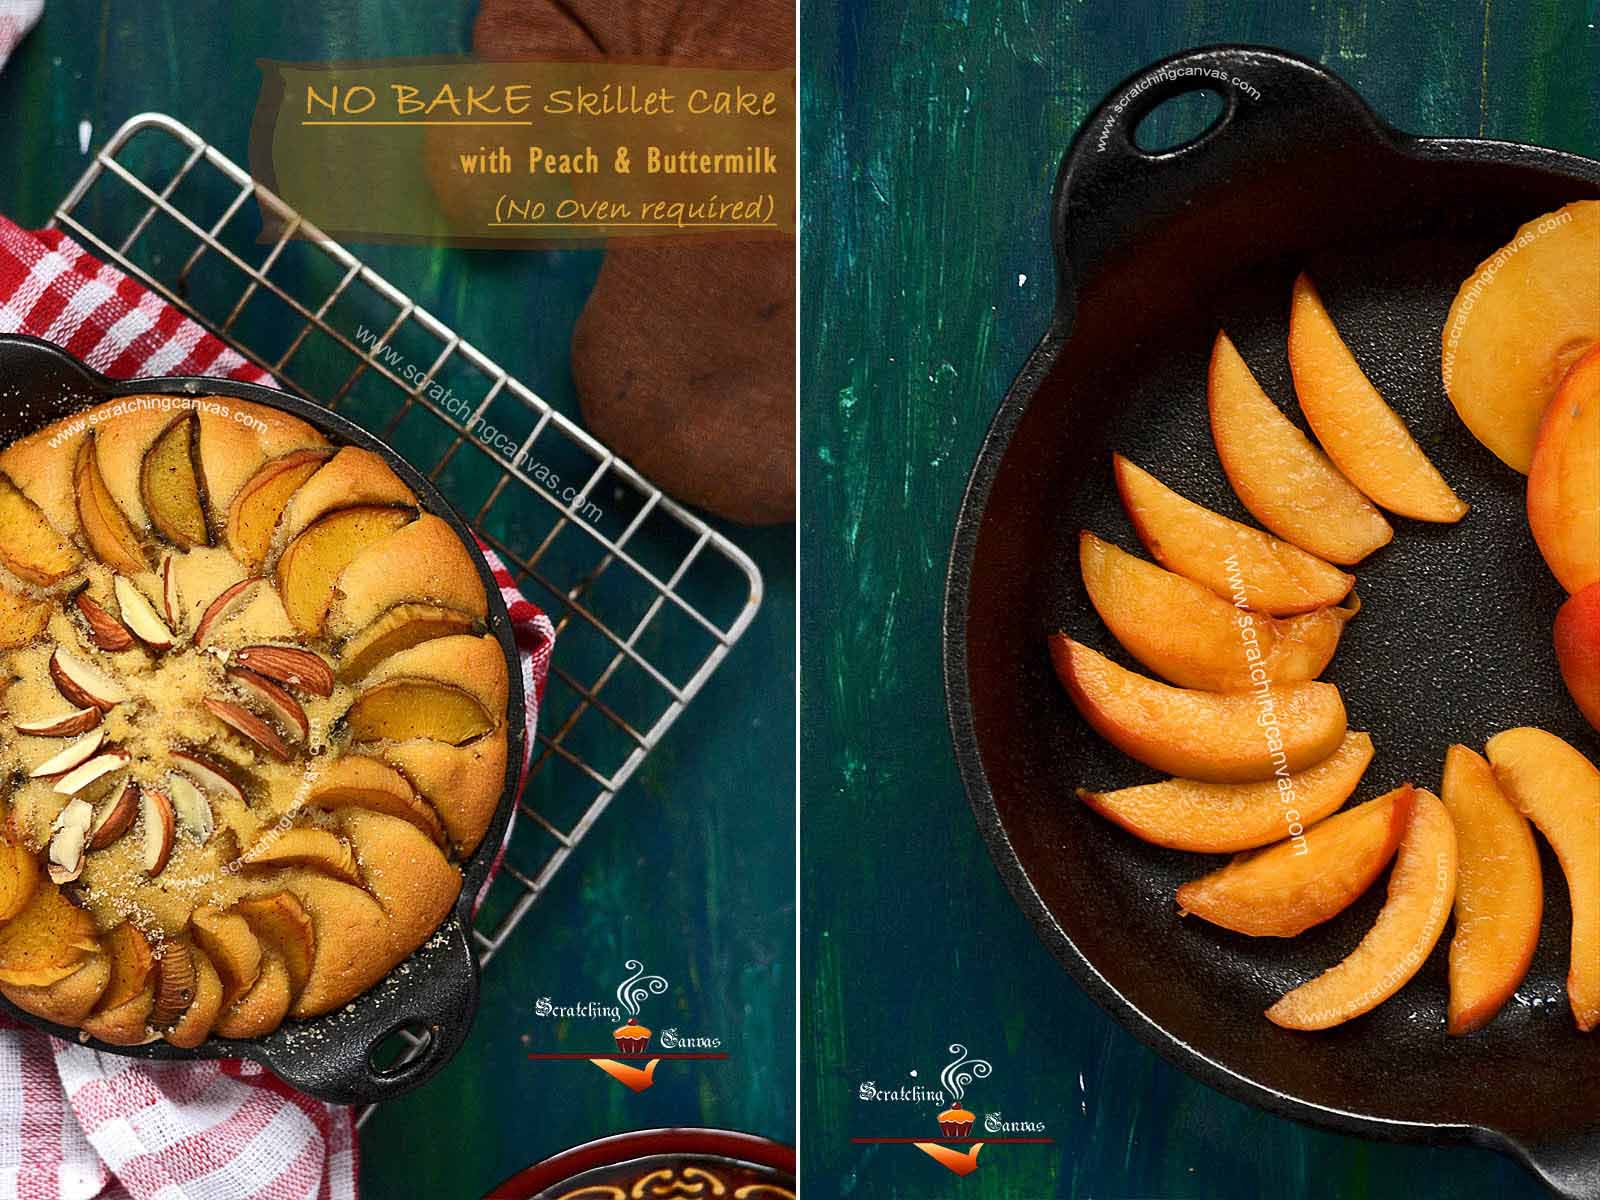
Now arrange the peach wedges on the top carefully. Sprinkle almond slivers on top.
Now, the most important part of this cooking, building the setup on gas top. Don’t worry it’s not any rocket science, just finding a simple large pan with a fitted lid and a metal stand to keep the baking pan on it. Once you’ve got them you are all set to cook your cake on stove top instead of baking in oven. As I mentioned before no sand or water or pressure cooker is required for this cooking.
Place the metal stand inside the large pan; be sure that your baking pan can fit comfortably inside the large pan, (watch the video for reference).
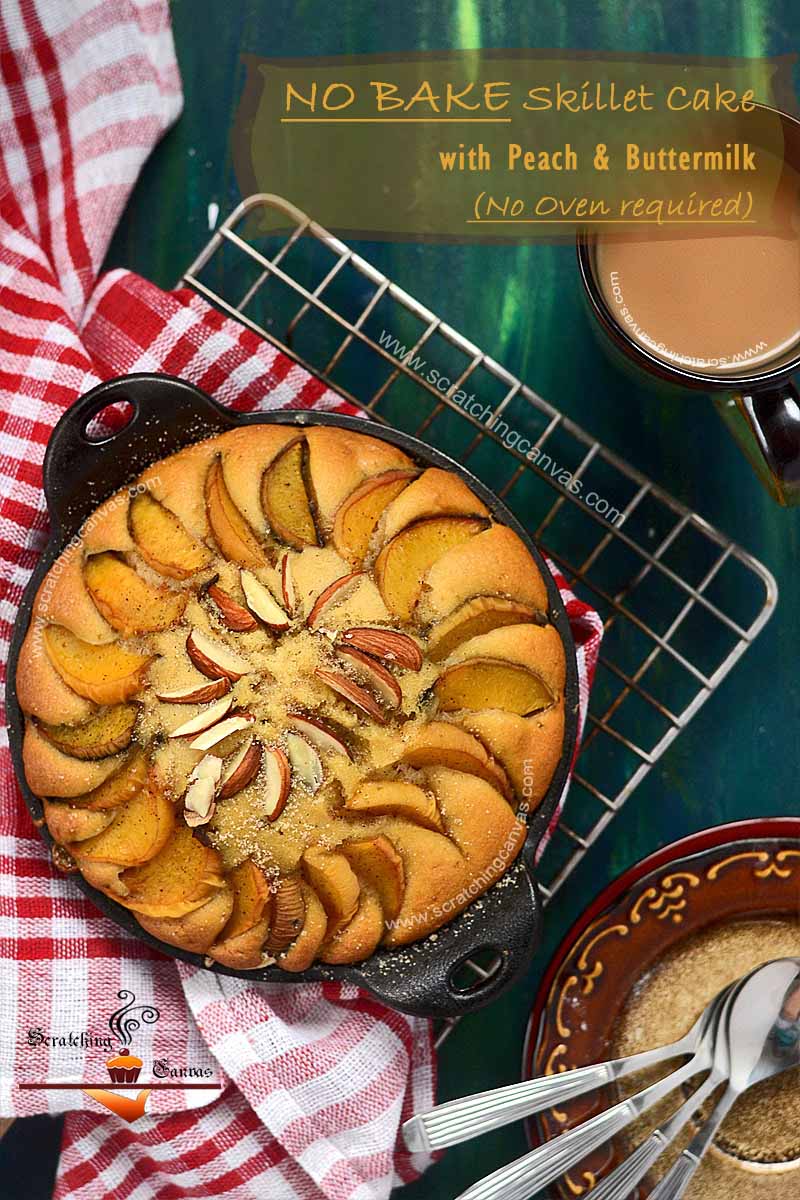
Heat the pan on medium flame for 3-5 mins with lid on or until you can feel the heat from the side of the pan. Place the batter filled baking pan on the stand, inside the large pan. Don’t forget to wear gloves otherwise you can burn yourself. Set it in the middle of the pan. Cover the pan with the lid and keep the flame low. Allow the cake to be cooked for 20 mins on low flame; don’t open the lid. After 20 mins or so increase the flame to medium and cook for another 10-15 mins. (See Tips) Once cake will start browning lightly on sides, sprinkle caster sugar on top (I used vanilla sugar) and cook for another 5-10 mins with lid on or until a skewer comes out with clean crumbs when inserted in the middle of the cake. (See Tips)
Remove the cake from large base pan and set on wire rack to cool down for 5 mins. Once it is easy to handle, run a blunt kitchen knife around the side of the pan and gently tap it few times on the kitchen counter to loosen up the sides and remove the cake from pan. (See Tips)
If you want to bake this cake in your regular oven bake in preheated (1600C) oven for first 20 mins at 1600C; then, in higher the temperature to 1800Cand bake for another 10-15 mins (depending on your oven)
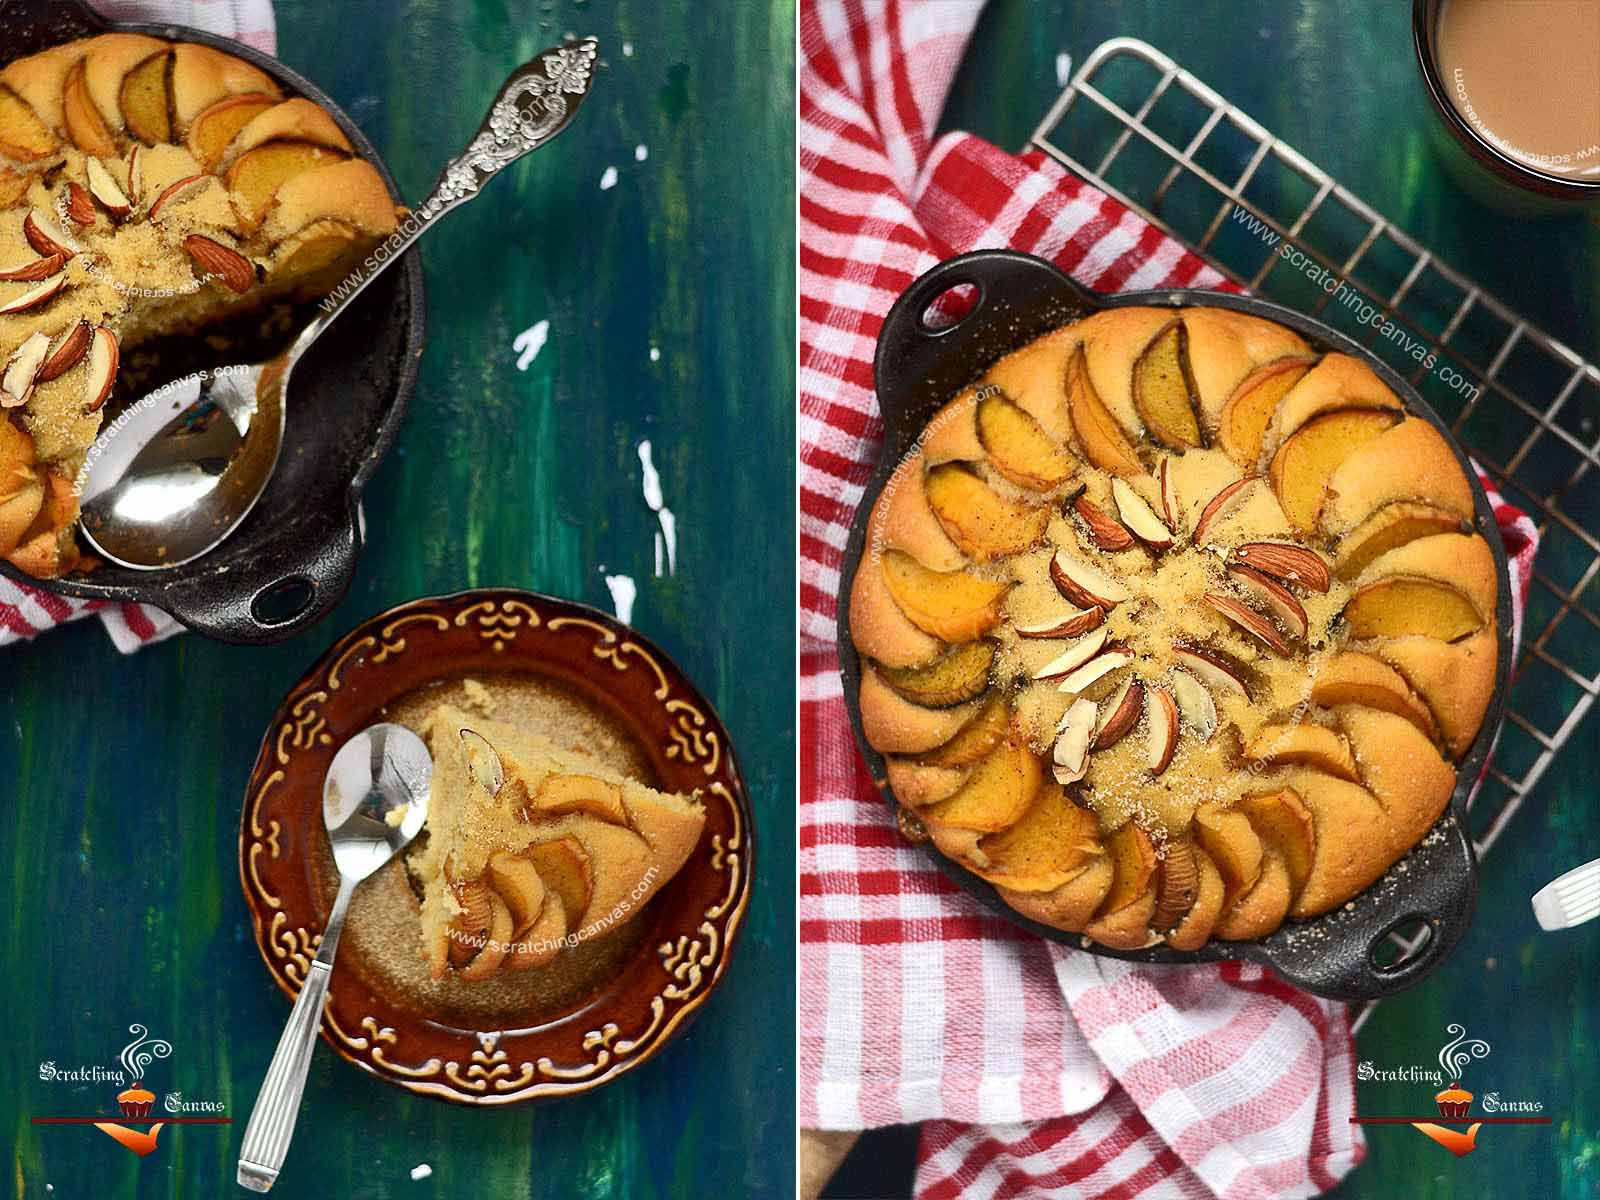
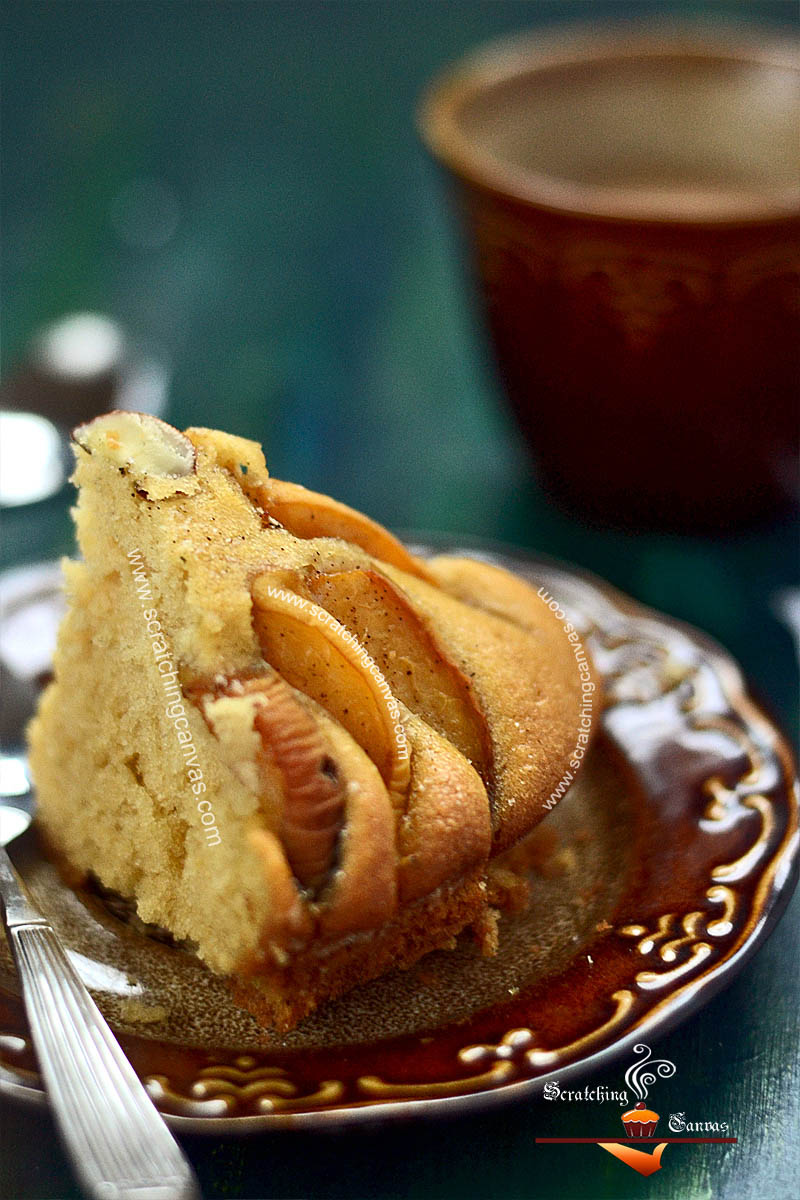
Your warm cake is ready to drive in with a large cup of hot tea. If you want to decorate it further go ahead and flaunt your creativity with a scoop of ice-cream or two. As my agenda was to create a simple tea cake which can be cooked on gas top/stove top without any oven I dint dare to spoil the theme and kept it simple and easy.
This small sized cake is perfectly capable to satisfy 1-2 persons. Excess cake (if you can manage to get some) can be refrigerated in airtight container. Taste will be good upto 2-3 days.
Variations:
1. Use any other firm fruit like apple or plum instead of peach.
2. Use regular milk or coconut milk or almond milk even soy milk instead of buttermilk for richer taste.
3. Use any other spices like star anise or lemongrass whatever you feel right for your cake.
4. Turn it into a dessert cake with whipped cream icing and fresh fruit garnish on top.
5. Replace the egg with egg substitute or yogurt.
6. If you want to bake this cake in your regular oven bake in preheated (1600C) oven for first 20 mins at 1600C; then, in higher the temperature to 1800C and bake for another 10-15 mins (depending on your oven).
Tips:
1. It is okay to add little less sugar than the specified measurement but never add more. If you add less sugar your cake will be puffy and yes little less sweet but that will hardly make any differences if you are having perfect spongy cake with sugar frosting like this. But more sugar not only spoils your taste it will also produce soggy and lumpy cake.
2. I always use regular salted margarine but my mother never use anything but while butter without salt.
3. Greasing and dusting the baking pan will make sure that cake won’t stick to it while baking.
4. Sifting and resifting the dry ingredients will make sure puffy and light cake while baking.
5. Don’t overbeat the butter & sugar. This will yield grainy texture and cake won’t be as fluffy as expected.
6. Always powder your sugar before start baking. There is no harm in use granulated sugar but it will take more time to incorporate all the ingredients while mixing which often produces curdled mixture, resulting dense heavy chewy cake, not light and aery, the way we love our cakes.
7. Mix flour with other ingredients in shape of ‘8’; be slow be gentle. Mixture can be over mixed in a jiffy which can produce hard dense cake.
8. Tapping the baking pan with mixture will help to release air bubbles from inside the batter, if any forms. And the batter will be spread evenly in the pan.
9. Keep checking after initial time specified. It may take 10-15 mins more depending on your oven.
10. Sometimes top of the cake gets the perfect brown color but inside still remains jiggy. Don’t worry about it. Cover the top with a heavy duty foil and continue baking for 10-15 mins more. This will prevent the top from over baking or burning while inside of the cake will continue to bake.
11. Don’t touch or try to cut the cake while it is hot. It is damn fragile now. Allow it to cool. Once it is cooled it will be firm.
You may also like,
Eat, Love & Enjoy! And Repeat!!!




This is brilliant! You are right, many in India, still are not comfortable using ovens. Awesome! Pinning this one and I am so excited to 'not bake' this one !!!!