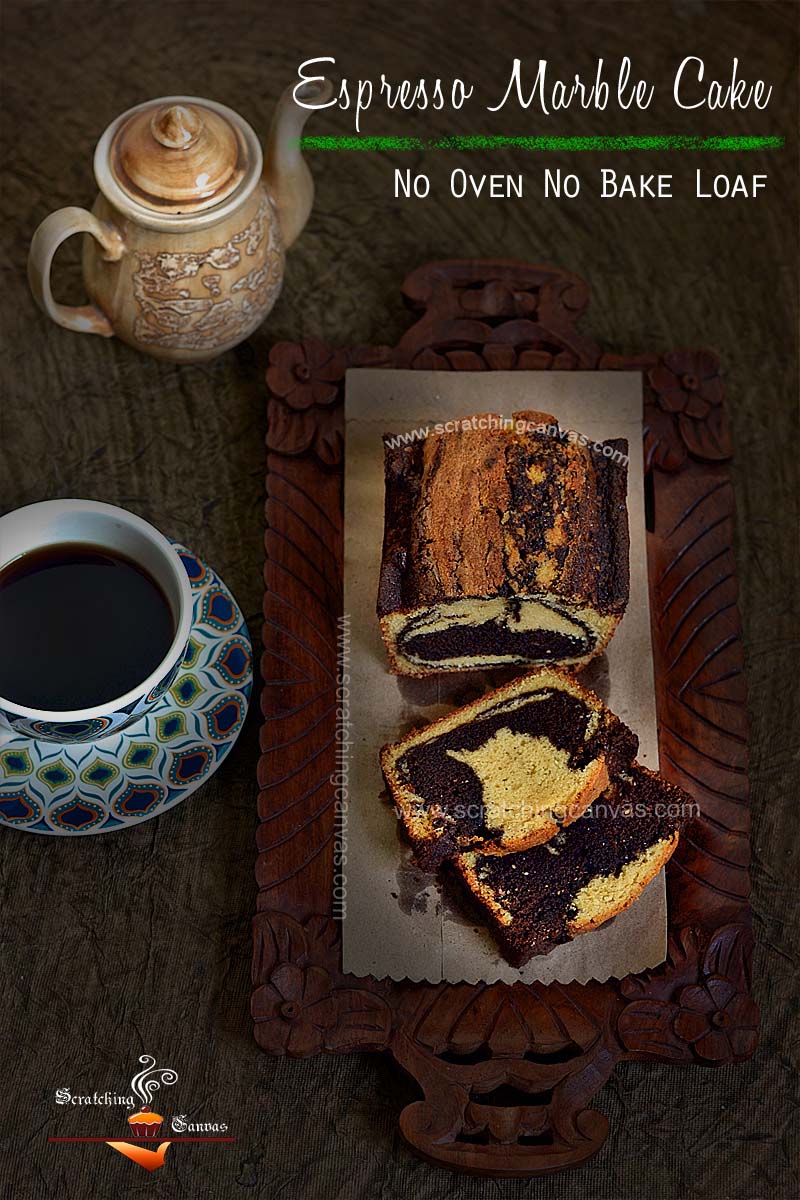
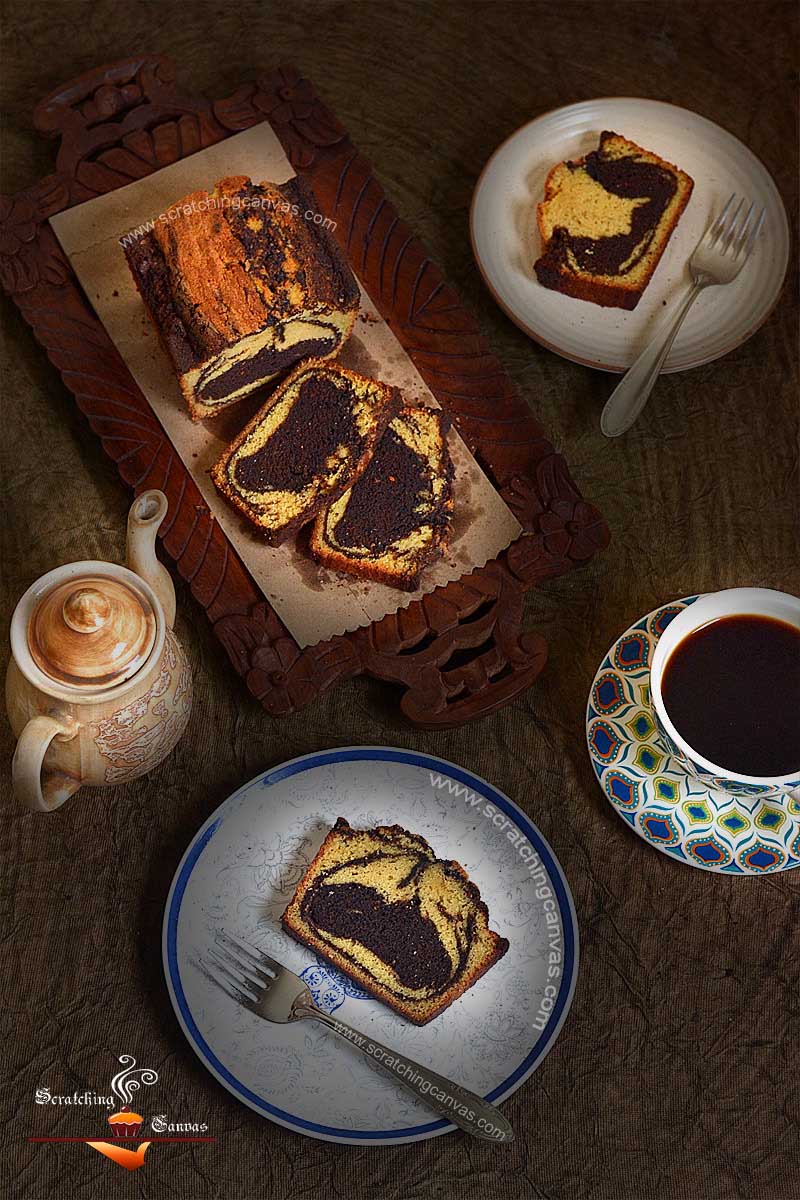
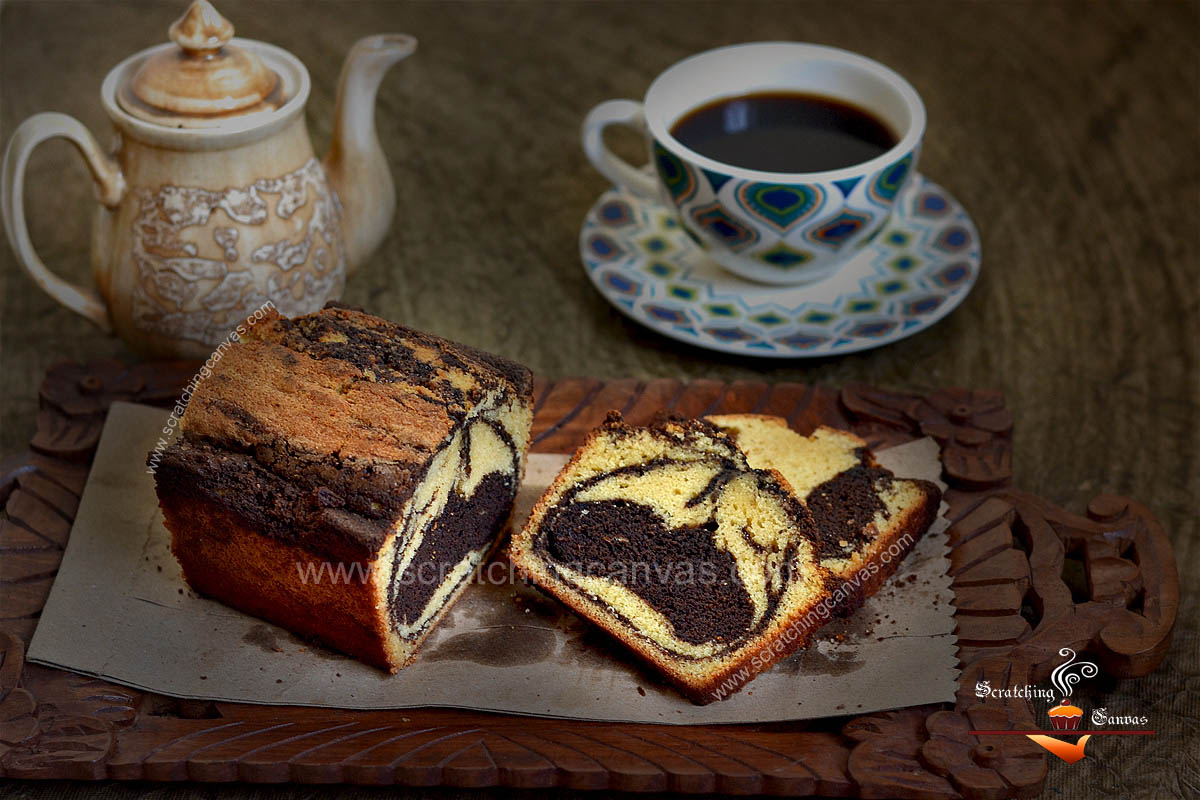
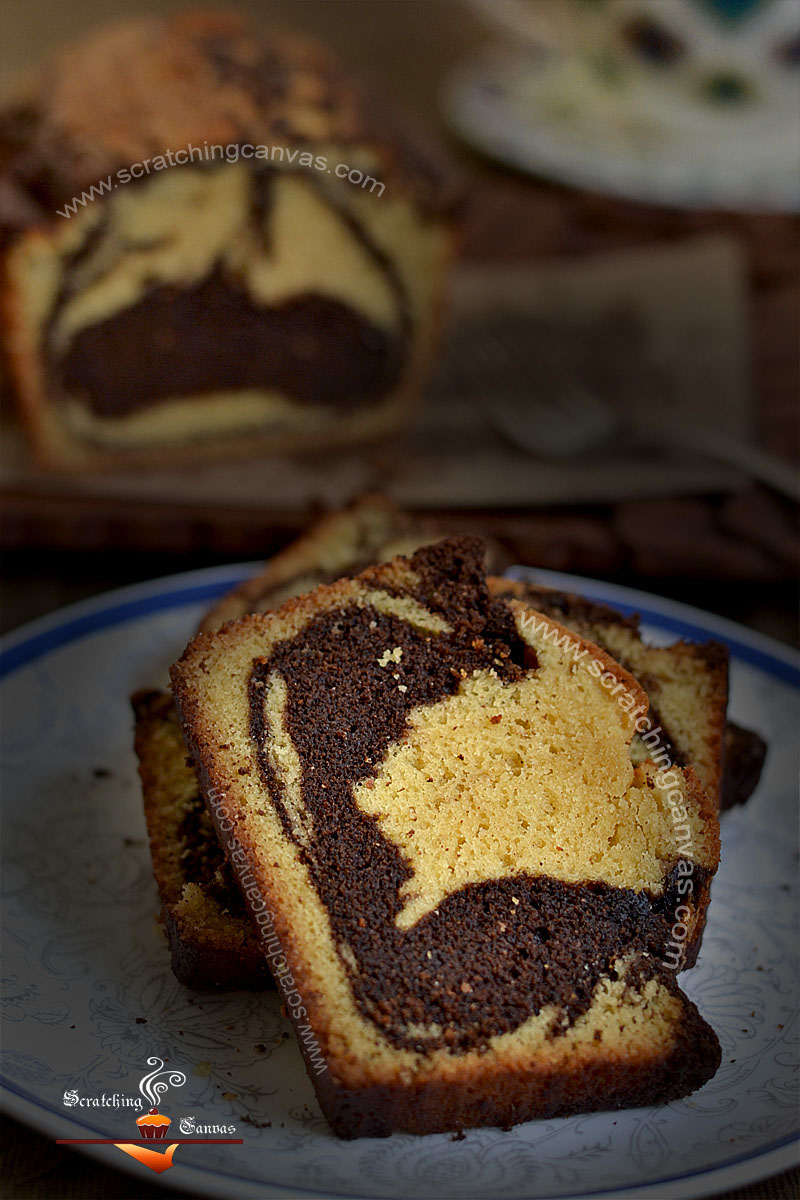
These are not just lyrics from indie rock band Foals rather it’s my feelings for No Bake No Oven Espresso Chocolate Marble Cake. This super moist vanilla & dark chocolate loaf cake has bewitched me completely with its dark curls. And the happiest thing is it’s baked cooked on gas top/stovetop without any oven, just similar to my previous No Bake Buttermilk Skillet Cake without any Oven.
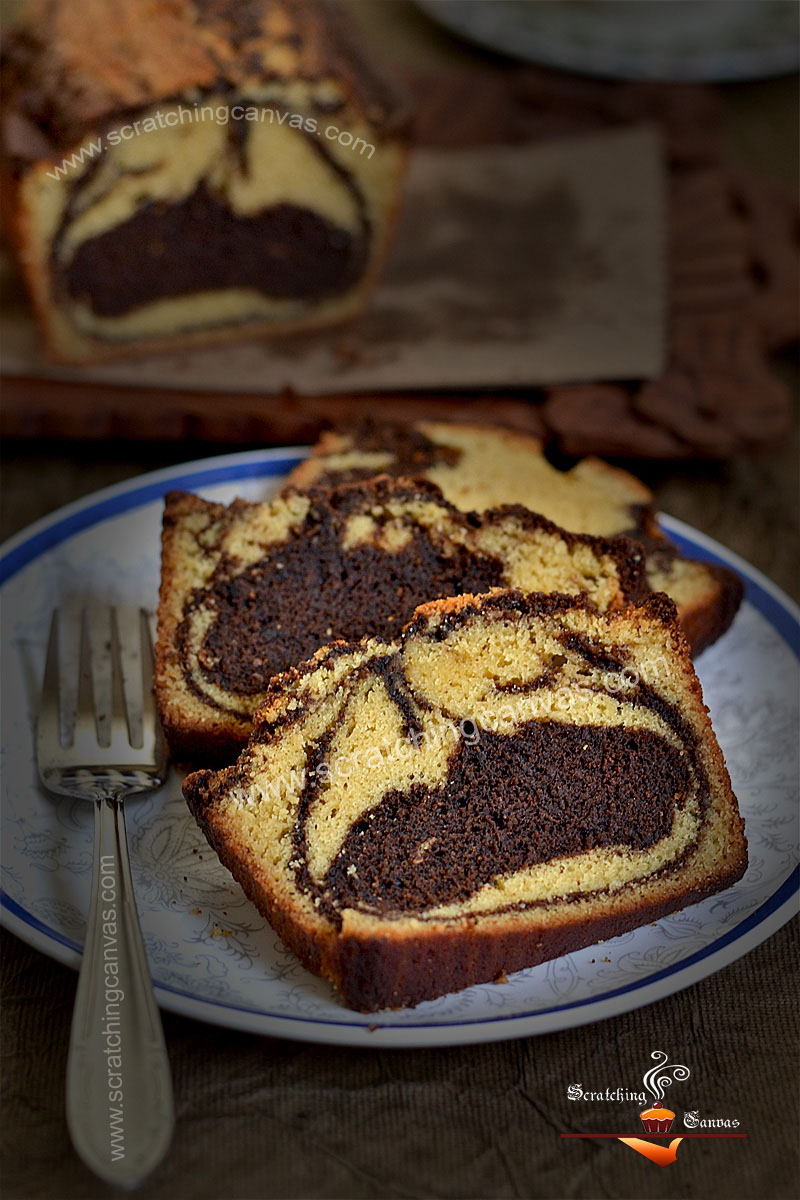
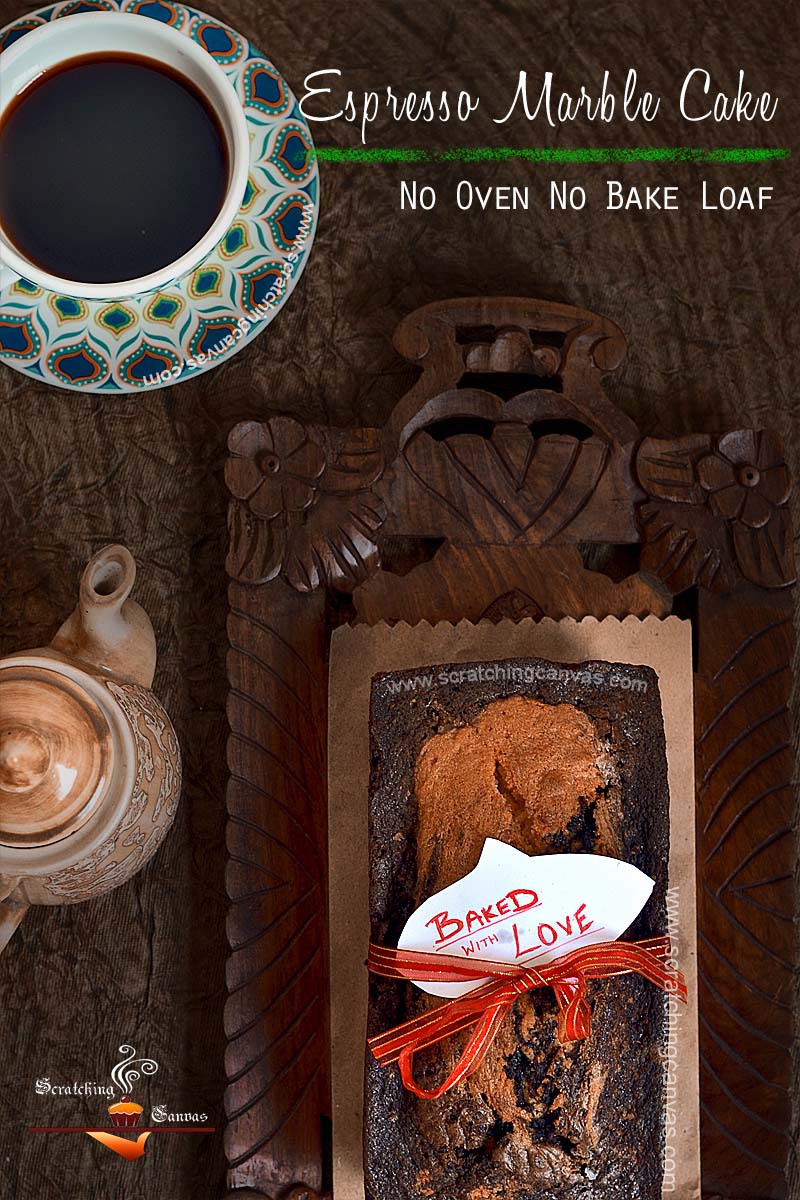
And my utterly disappointment comes out in a burst whenever it happens. I simply refuse to taste dry and moist crumbs in a single bite for sake of two different flavours in one cake. Why can’t I have a single slice of rhythmic marble cake with evenly moist crumbs all over the cake to enjoy the wedding of vanilla & chocolate in every bite??
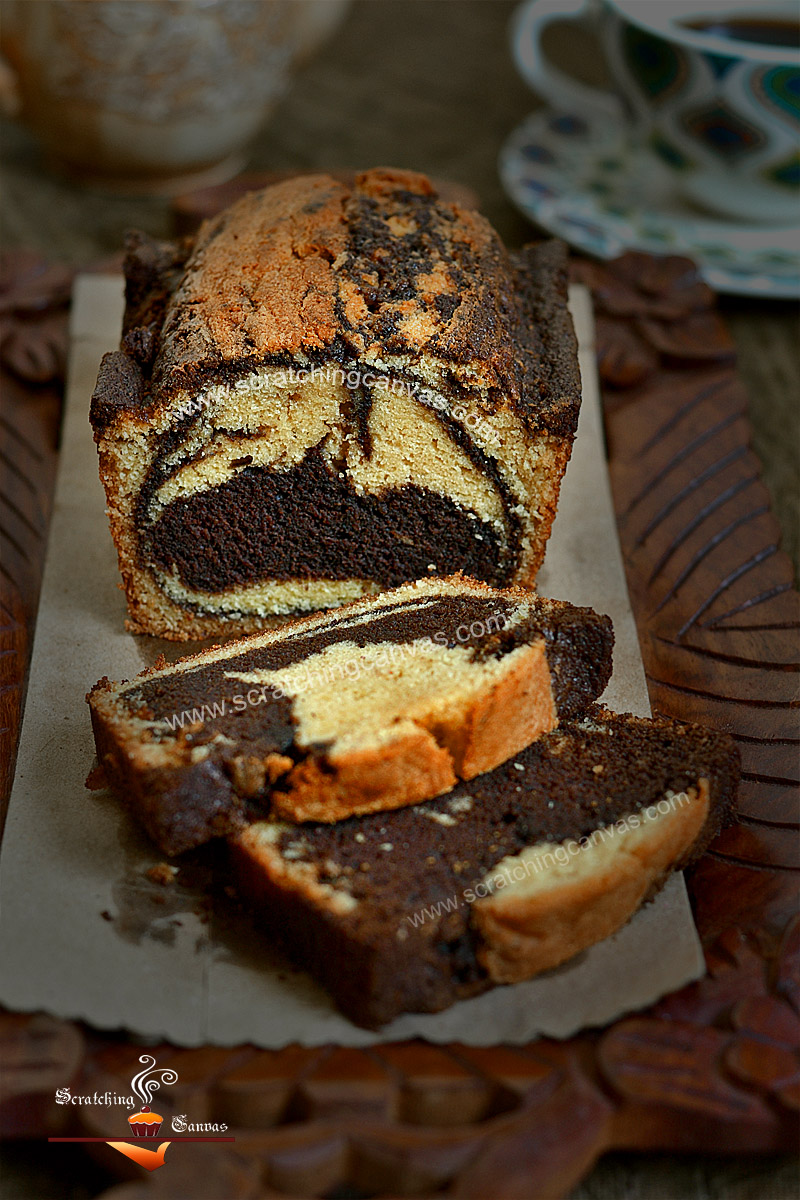
And now comes the best part cooking the cake on gastop instead of baking in oven. Initially I had no plans to cook it on stove. I preheated my oven as any other days and then set the batter filled loaf pan inside the oven, turn it on and then, boom! Power goes off! Damn, it was Wednesday not even Thursday, our regular power cut day! Now I had a luscious marble cake batter inside the oven with no power and banging my head on the refrigerator door without any backup plans. After wasting a good time on cursing Maharashtra state electricity department I decided to stick to the plan and quickly preheated my largest pan on gastop, set the cake pan and waited just beside it while it was cooking on gas. I was too nervous to move or do any other things; I had to wait till I see my marble cake was browning. And then I noticed the battery of my camera had died in between (I had no clue when), so no rising and browning pictures this time guys, sorry. But if you wish to watch the detailed video where you can actually see how the cake is rising and browning, watch my previous No Oven No Bake Cake video here.
The layering.
Fill the 3/4th of a loaf pan with both batters; add both batters alternately until finished. The top will be uneven at this point but it will rise and get even while baking. So don’t tap the pan otherwise the pattern will be destroyed. Slit in the middle of the batter with a spatula slightly. It will prevent cracking in the middle of the cake. (See Tips)
- For Vanilla Sponge:
- All-purpose flour: 1 ¾ cup or 222g
- Baking powder: 1 tsp
- Margarine or Butter, salted: 1 ¾ stick or 212g + 1 tbsp (for greasing) (See Tips)
- Sugar, powdered: 1 cup or 222g (See Tips)
- Egg, large: 4, at room temperature
- Milk: ¼ cup
- Vanilla extract: 2 tsp (optional)
- Cocoa powder: 1 tbsp (for dusting) (See Tips)
- For Espresso Chocolate Sponge:
- Instant espresso powder: 1 heaped tbsp
- Hot water: ¼ cup
- Dark chocolate: 85g to 110g (See Tips)
- Equipment:
- Sieve
- Whisk
- Spatulas
- Large mixing bowls
- Small mixing bowls
- 9x5x3 or 8x4x4 loaf pan
- Let’s begin with greasing and dusting the baking pan.
- Next, prepare the espresso shot by mixing the ground coffee and ⅛ cup of water.
- Sift dry ingredients together.
- Cream butter and sugar together until fluffy and pale in color.
- Add one egg at a time and continue beating, add vanilla.
- Add the dry mixture and milk alternately in 1:1:1 ratio into the batter and gently fold until there is no visibility of flour without any lumps.
- For the chocolate layer melt chocolate in a large glass bowl. Take half of the cake batter and mix with the chocolate. Fold the batter in espresso shot and fold until batter is smooth and silky.
- The layering.
- Fill the ¾th of a loaf pan with both batters; add both batters alternately until finished.
- Now, take large pan with lid and heat empty pan on gastop with a stand inside. After 3-5 mins place batter filled loaf pan inside large pan and cover. Allow to cook for 30 mins at low then at medium for 15 mins. or until a skewer comes out with clean crumbs when inserted in the middle of the cake.
- Serve warm.
1. I always use regular salted margarine but my mother never use anything but while butter without salt. If you are using unsalted butter or margarine, add 1 tsp of salt to the flour mixture and sift. The salt will balance the sugar level in the cake.
2. It is okay to add little less sugar than the specified measurement but never add more. If you add less sugar your cake will be puffy and yes little less sweet but that will hardly make any differences if you are having perfect spongy cake with sugar frosting like this. But more sugar not only spoils your taste it will also produce soggy and lumpy cake
3. I always dust the pan with cocoa powder while baking chocolate or any dark coloured cake as flour dust on dark toned cake looks nasty. If you don’t have cocoa powder, use coffee powder or at least whole wheat flour to dust the baking pan.
4. I prefer my espresso chocolate layer dark dense so I used dark chocolate. Any other chocolate like milk chocolate or white chocolate can be used for the same purpose. Amount of chocolate can be varied between 85g to 110g. Remember the more chocolate meaning thicker chocolate layer. While with 85g chocolate, espresso layer will be light airy and with 110g chocolate, cake layer will be more brownie like.
5. Greasing and dusting the baking pan will make sure that cake won’t stick to it while baking.
6. Sifting and resifting the dry ingredients will make sure puffy and light cake while baking.
7. Don’t overbeat the butter & sugar. This will yield grainy texture and cake won’t be as fluffy as expected.
8. Always powder your sugar before start baking. There is no harm in use granulated sugar but it will take more time to incorporate all the ingredients while mixing which often produces curdled mixture, resulting dense heavy chewy cake, not light and aery, the way we love our cakes.
9. Mix flour with other ingredients in shape of ‘8’; be slow be gentle. Mixture can be over mixed in a jiffy which can produce hard dense cake.
10. Tapping the baking pan with mixture will help to release air bubbles from inside the batter, if any forms. And the batter will be spread evenly in the pan.
11. Keep checking after initial time specified. It may take 10-15 mins more depending on your oven.
12. Sometimes top of the cake gets the perfect brown color but inside still remains jiggy. Don’t worry about it. Cover the top with a heavy duty foil and continue baking for 10-15 mins more. This will prevent the top from over baking or burning while inside of the cake will continue to bake.
13. Don’t touch or try to cut the cake while it is hot. It is damn fragile now. Allow it to cool. Once it is cooled it will be firm.


A keeper recipe! Thanks…
Normally while baking in the oven I start with a high temp till it rises and lower till cake is completely cooked. You have mentioned the opposite. Both are correct?
Hi Prita, both of your mentioned procedure works. In 1st one we let the cake rise first and then cook the same evenly.In 2nd procedure we cook the cake first and then brown the sides and top with higher temperature. As I cooked this particular cake on gastop I used 2nd one to ensure moist cake without any overcooking or burning. That's why I allow to cook the cake on lower temperature and then increase the flame to brown the top as it was a large loaf pan considering the gastop. I would suggest that you start with a smaller loaf pan and try. Hope this will help you 🙂
Interesting cake preparation – thanks for info
Hi Rimli,
Your recipes are simply mouthwatering.I request you send me recipe of niramish aloo dum made with poppy seed paste usualy served at puja and other occassions.:-)
Thank you
Thank you DEBASMITA 🙂 I have few niramish aloo dum recipes on the blog already, one is with bhaja moshla and another one is Kashmiri Dum Aloo, I’ll try to include the poppyseeds variation later on the blog. In the meanwhile you can check the recipes here.
http://www.scratchingcanvas.com/bengali-aloo-dum-complete-veg-no-onion-no-garlic/
http://www.scratchingcanvas.com/kashmiri-dum-aloo-dum-olav-no-onion-no/
Hi .. very nice cake recipe…just wanted to ask that the consistency of the chocolate and vanilla batter are different as shown here, should it not be uniform for baking evenly..can I add little milk to the vanilla batter?